
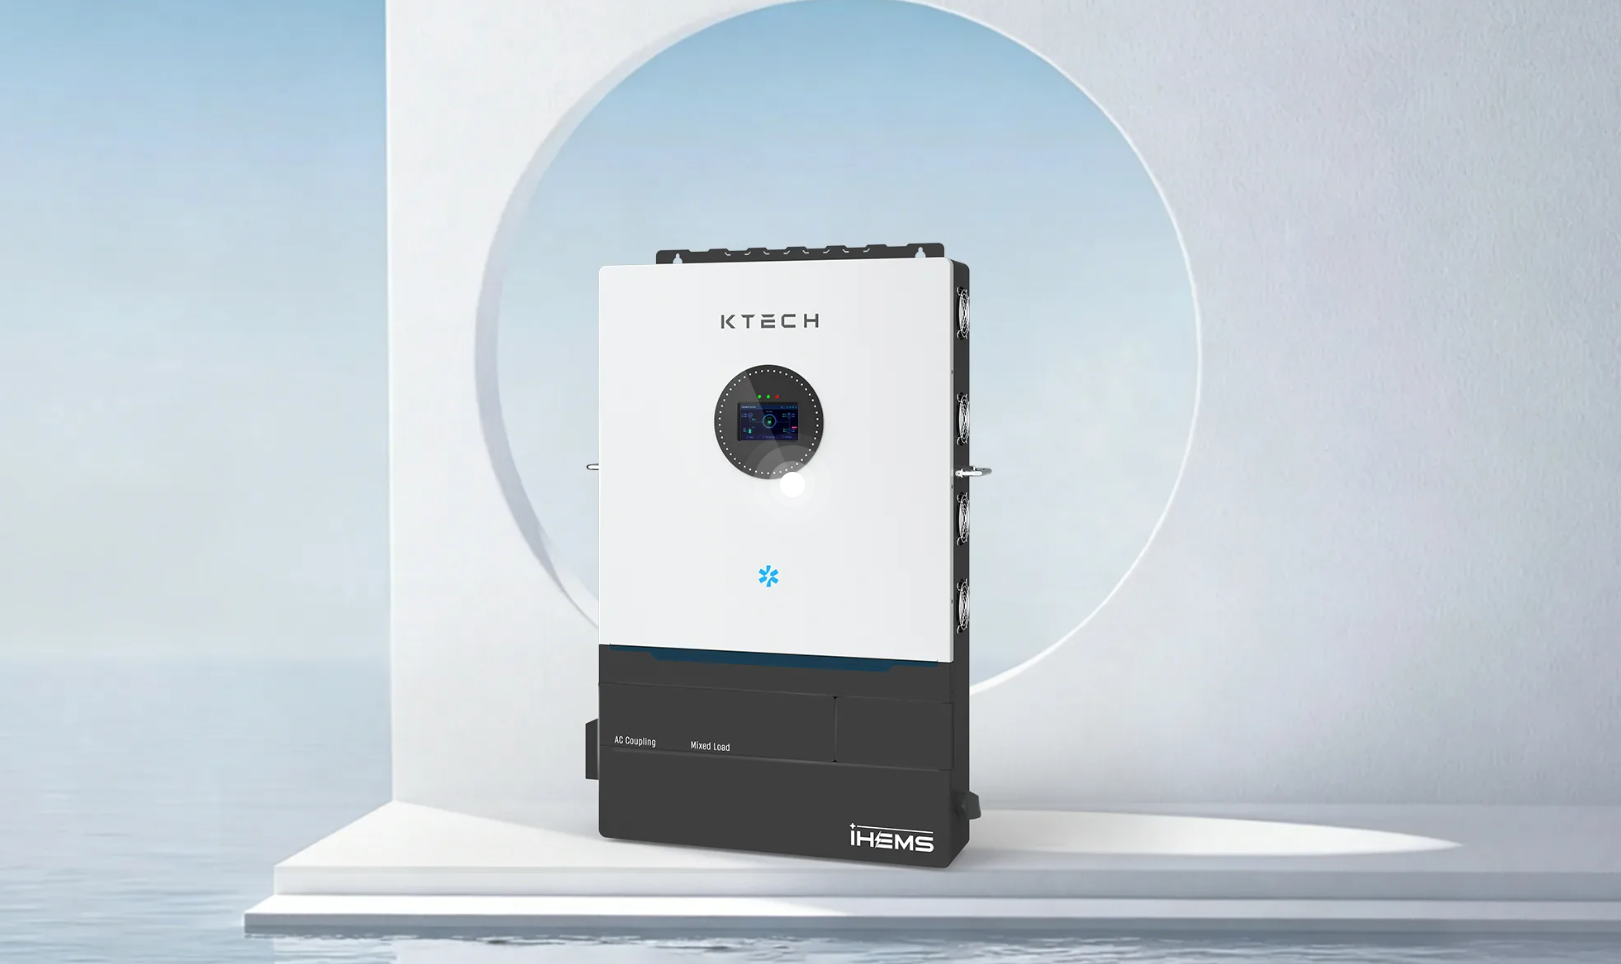
Why this matters to you
You want the panels to pay off, not cause late-night worry. Think like the person who will live with the system every day: safety, reliability, and clear information. Start your planning with a simple tool—consider pairing the design with a home energy management system so you can see how the inverter behaves under real loads from day one. That visibility changes decisions; it reveals problems that paperwork never will.
Essential safety features to verify
Before you sign off, confirm each of these items. They’re practical, measurable, and they directly reduce risk.- Anti-islanding detection and certified islanding tests (active and passive methods).
– Proper overcurrent protection on the DC side: correct fuse ratings and MCCB settings.
– Ground-fault and arc-fault detection suitable for PV strings.
– DC and AC rapid disconnects accessible for emergency shutdown.
– Surge protection devices on both DC and AC circuits (Type II where required).
– Temperature and current derating curves documented by the manufacturer.
– Inverter enclosure IP rating and thermal management (fans or passive cooling).
– Firmware update policy, signed images, and secure communications (no default passwords).
What users often miss
People check certifications and stop. They forget real-world interactions.- Labeling: cables and isolators need clear, durable labels. First responders rely on them.
– String imbalance: one weak string can feed faults into the whole system. Measure each string’s I-V curve early.
– Site ventilation: tight attics change operating temperature dramatically; the inverter will derate without notice.
– Combiner box cable routing: avoid long unprotected DC runs that invite damage.
These are small things on a checklist but big problems in monthly bills and emergency situations.
Commissioning tests you should insist on
Don’t accept “it’s working.” Ask for and keep results.- Open-circuit and maximum-power-point voltage checks for each string.
– Insulation resistance test (megger) from PV array to ground.
– Protective device trip and coordination verification under simulated faults.
– Communication test with your energy system and confirmation of telemetry accuracy.
Record timestamps and serial numbers. That paperwork saves hours on warranty claims.
Monitoring and integration — the living safety net
A responsive inverter is only as useful as the view you get. Tie the inverter into a monitoring platform and check alarms from day one. Look for metrics: real-time power, DC voltages, ground fault currents, and device temperature. Good monitoring turns a single fault into an alert before something fails. For large residential deployments and programs, visibility matters — California’s demand-response programs, for example, require clear reporting and fast control paths. If you prefer off-the-shelf tools, evaluate home energy monitoring systems that offer both local logs and cloud summaries so you can diagnose remotely without guesswork.
Common pitfalls during procurement and install
Make choices that reduce rework.- Buying the cheapest inverter without checking surge and fault ratings leads to replacements.
– Mixing incompatible grid codes and expecting firmware fixes.
– Overlooking cable ampacity for expected summer temperatures.
– Assuming the installer will set advanced protection functions by default.
Ask suppliers for protection-settings sheets and have the installer sign off on what they changed from factory defaults.
Quick comparative note on options
There are inverters that prioritize cost, others that prioritize integration, and some built for harsh sites. For a homeowner who wants low fuss: pick an inverter with robust onboard protection, accessible service panels, and a proven telemetry platform. If you want future flexibility, choose an inverter that supports secure remote firmware updates and open communication standards. Evaluate trade-offs: lower initial cost can mean higher long-term maintenance.
How to use this checklist the first 30 days
On day one, confirm physical installation and labeling. Within the first week, validate commissioning tests and connect monitoring. By 30 days, review patterns: unexpected derating, repeated thermal events, or string imbalance. Log every alarm and compare against the commissioning report. If something is off, don’t wait for warranty talks; early intervention is cheaper and safer.
Final thought
Safety is a set of small, deliberate choices you make before panels ever see sun. Check protections, insist on clear telemetry, and demand verification. That habit protects your family, your investment, and your peace. For systems that balance thoughtful hardware with usable monitoring, Ktech often shows how practical design and honest data come together without drama.